
Lately I’ve been really inspired by some of the charming 1950’s schoolgirl (or granny, the border between both is blurry, heh) looks. Monogrammed cardigans, poodle skirts, bobby socks, and vintage valentines! I love mixing modern lolita pieces with retro touches. Recently I hand embroidered a thrift shop cardigan to create a monogrammed retro look.
It was super easy! Here’s a quick How I Did It with instructions! You don’t have to use your initials, you could embroider just about anything. Hopefully this quick guide will inspire you to maybe try it out on one of your sweaters or cardigans. 🙂
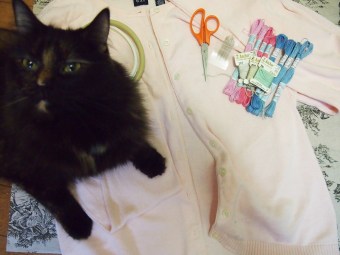
Materials Needed:
-One cardigan or sweater. When buying for one look for heavier fabrics, the less stretchy and the more tight the weave the better. You want it to not scar or pull when you sew thread into the fabric. The one I used is a “GAP” brand 100% cotton one I found at a thrift shop for $4.99. I definitely recommend second hand cardigans of a quality brand for these sorts of projects (less panic if you mess up a $5 cardigan instead of ruining a new $40 one).
-Embroidery thread/floss. Available at every craft store in a million colors. I used a very pale mint green and a washed out grey color for an aged look.
-Embroidery needles. Again grab a pack of these at the craft store, they are larger than usual sewing needles and will be labeled for embroidery.
-Embroidery hoop. You can do this without but I like how it holds the fabric in place and stretched tight as you work.
-Pearls or beads (if you want).
-Pencil or chalk, scissors.
Step One:
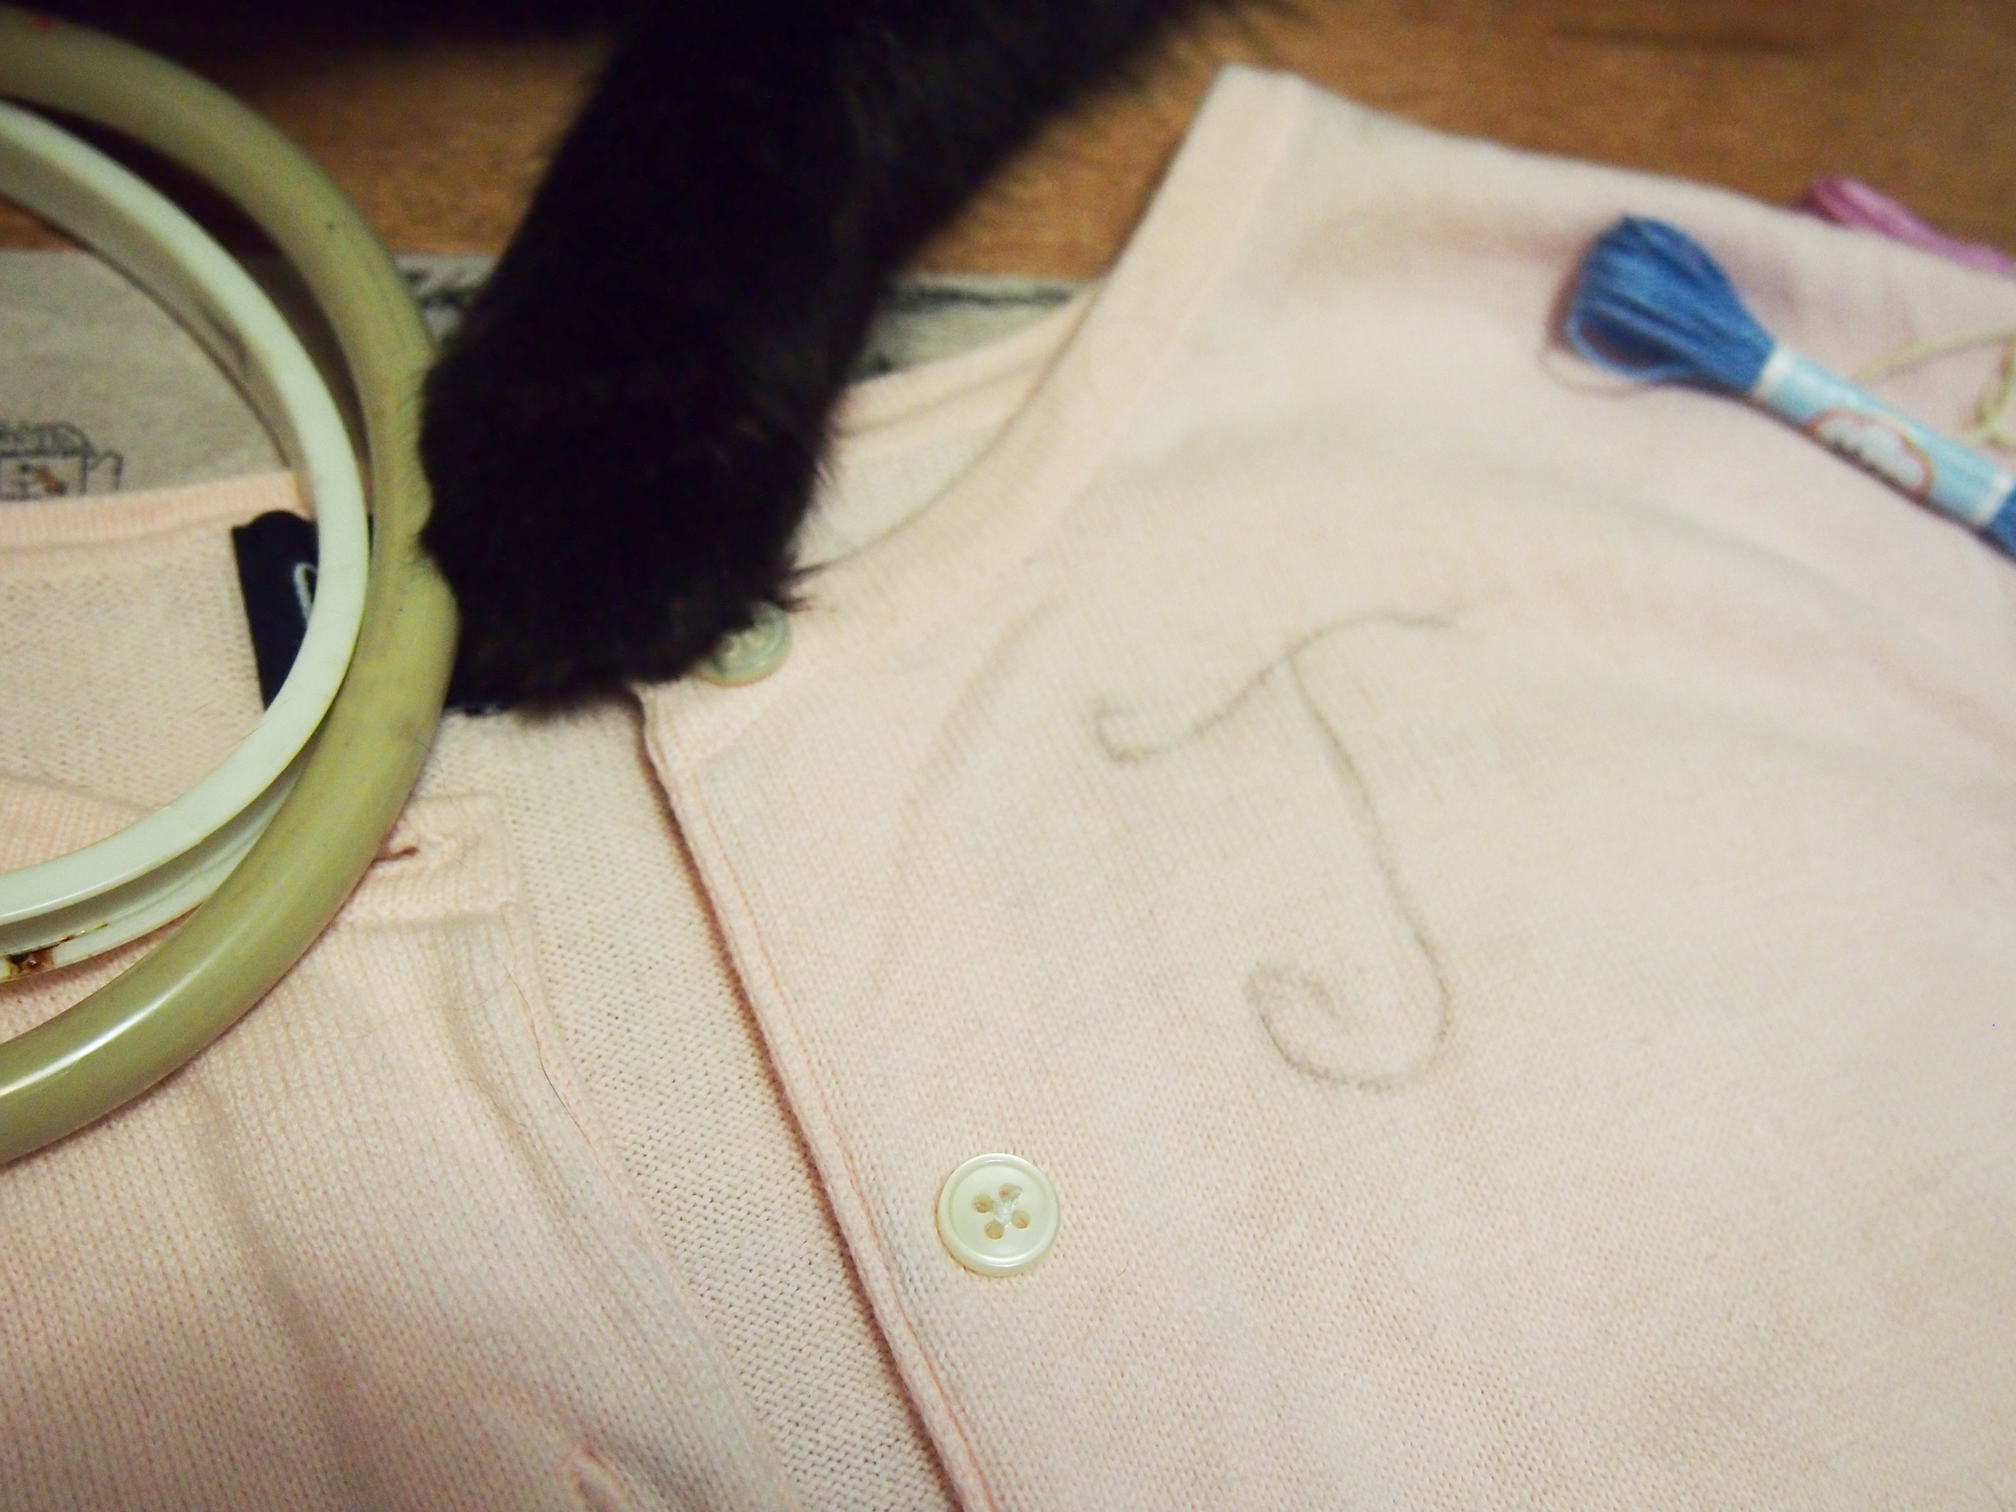
Draw out the design on the cardigan in pencil (or chalk). I did a large “T” and a small bow at the waist. You can also use a pattern if you feel more comfortable with that. Here’s a link to some patterns for hand embroidery initials.

Step Two:
Set up your embroidery hoop on the fabric. Mine is a two part hoop and so the firm oval fits underneath the fabric and the stretchier oval sits atop that to keep the fabric stretched and in place.
Step Three:
Thread your needle. My stitch required 3 threads, you can vary this depending on the style of embroidery you are creating and how thick you want the lines to be.

Step Four:
Embroider your design! I am not an embroidery expert, there are *tons* of tutorials and stitches you can do to create your design. If you’ve never hand sewn or embroidered I do recommend watching a few quick tutorials just so you feel comfortable with it. I did a sort of braid style stitch with three threads of the embroidery floss. I just began to sew the green outline of the T and then filled it in with grey. Here’s a link with outlines of basic hand embroidery stitches.
Step Five:
If you’re adding pearls or beads put them on! These attach similarly to buttons, just make a few stitches through the hole in the bead/pearl and then tie off under the fabric.
Voila! Your own monogrammed cardigan! Here are some goofy photos of me wearing it around. 🙂


-Taeden
