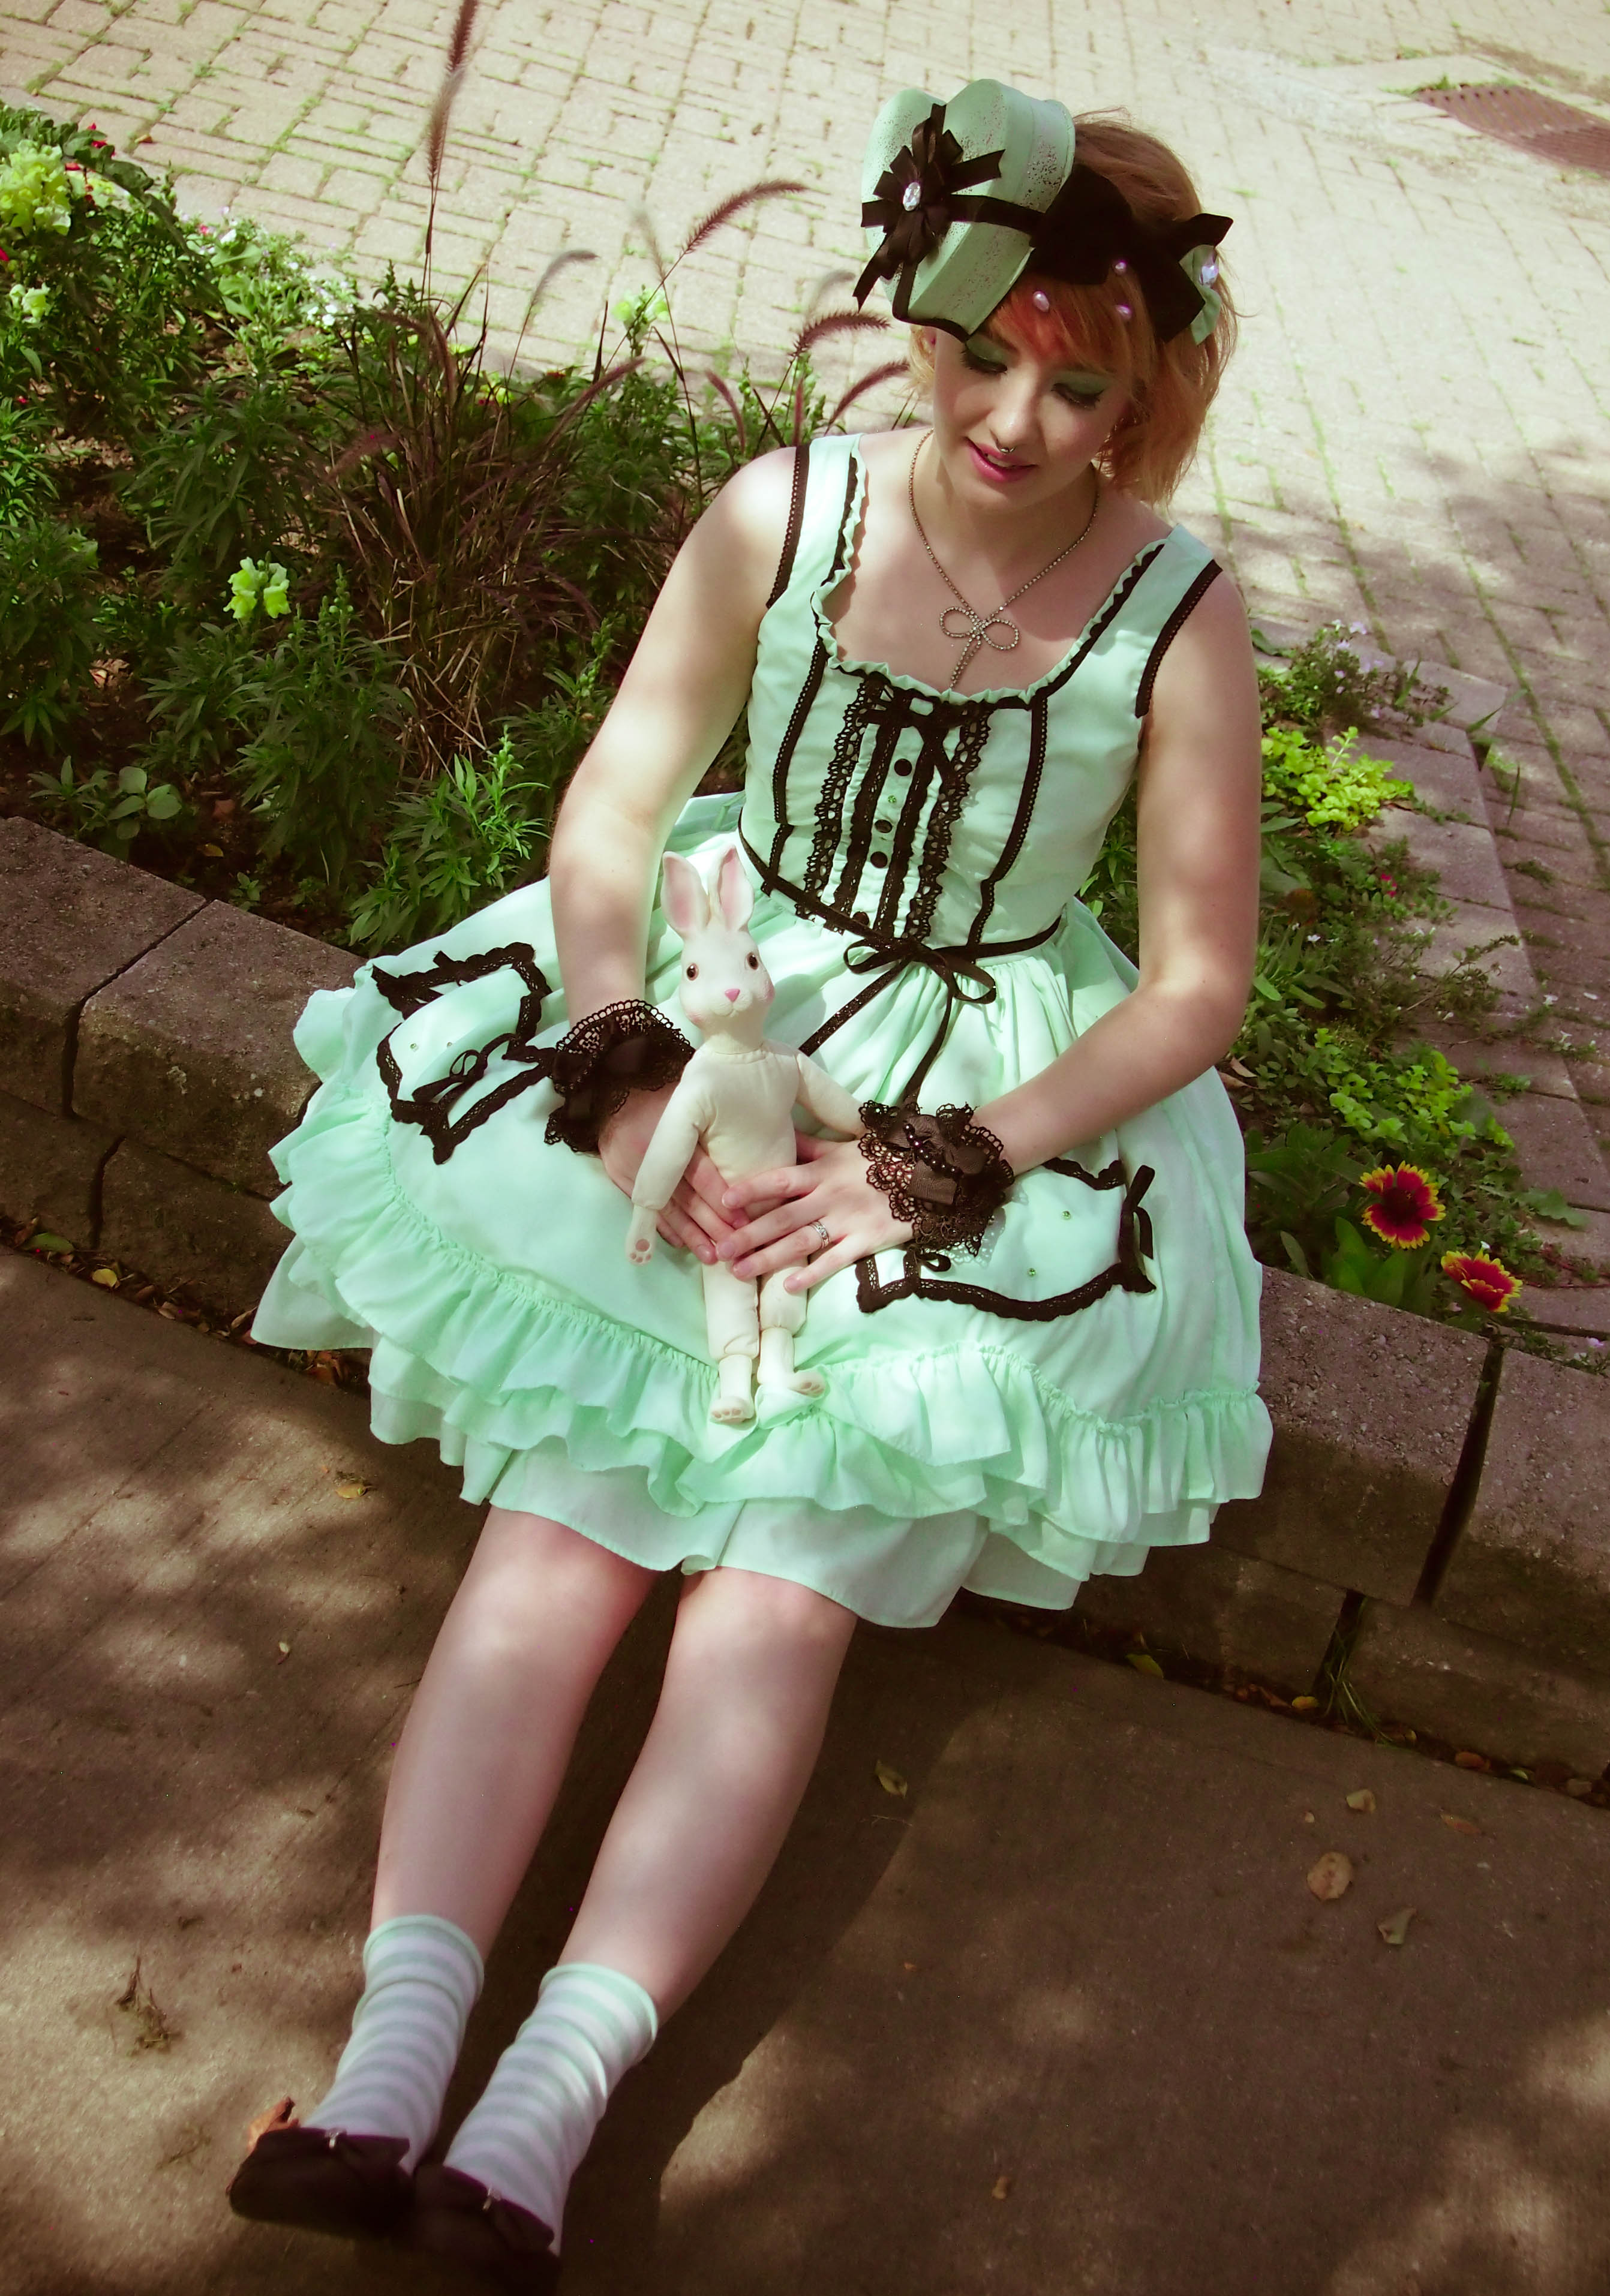
For our recent shoot we created quick glittery candy-heart headdresses! They are super easy to make so I made sure to document the process in case you’d like one of your own. They are paper based so I wouldn’t recommend wearing them in the rain even with the acrylic paint coating. These would work beautifully for a photoshoot, convention, or event where you want something extra fancy and special (but light enough to not make your neck sore an hour in).
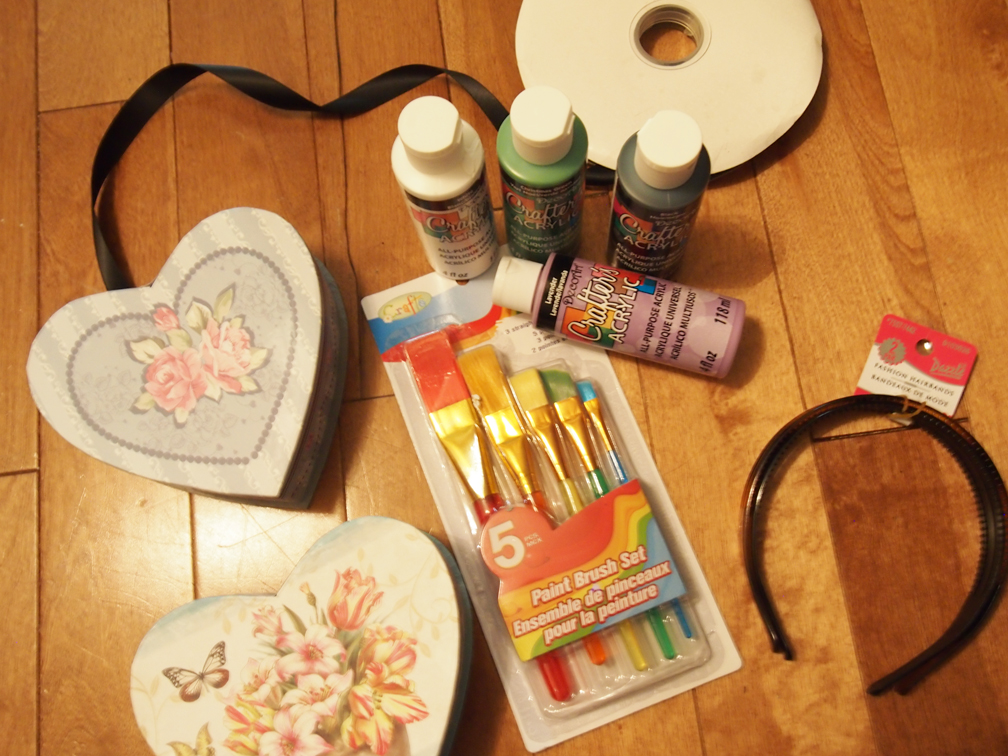
Materials Needed:
-Paper heart shaped gift box. You could also use square or round boxes, whatever you can find. I found ours at the dollarstore, they even had multiple sizes of heart boxes for $1.25 each!
-Acrylic craft paint. Also available at the dollar store! We used white, green, and purple.
-Paintbrushes. Whatever you have will work for this honestly, there’s no fancy detail painting unless you want to add that yourself.
-Craft glitter! We used a purplish pink color to contrast with the pastels we used on the boxes.
-Ribbon. We used a 1″ black satin sort that we had on hand, basically any ribbon you like will work for this.
-Scissors.
-Hot glue & gun. You could get away with a non-hot glue for this as well but hot glue is pretty durable and easy for this type of project.
-Headband (optional, we didn’t end up using ours).
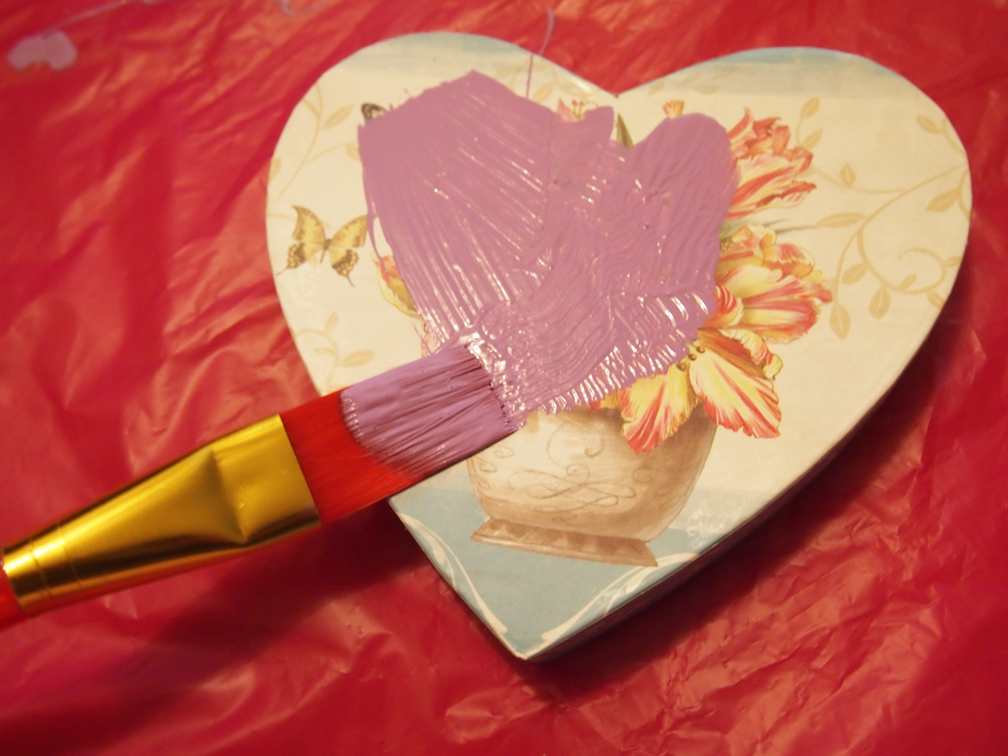
Step One
Paint the boxes! The original paper on ours was decorated with ugly faux-country motifs that we were really not into so we painted them over with solid colors. You’ll probably need 2 coats to make sure none of the original paper shows through. Make sure it dries completely between coats or the lower layer will rumple and look crappy. The underside of the box should also get a layer of paint just to give the finished hat a polished feel.

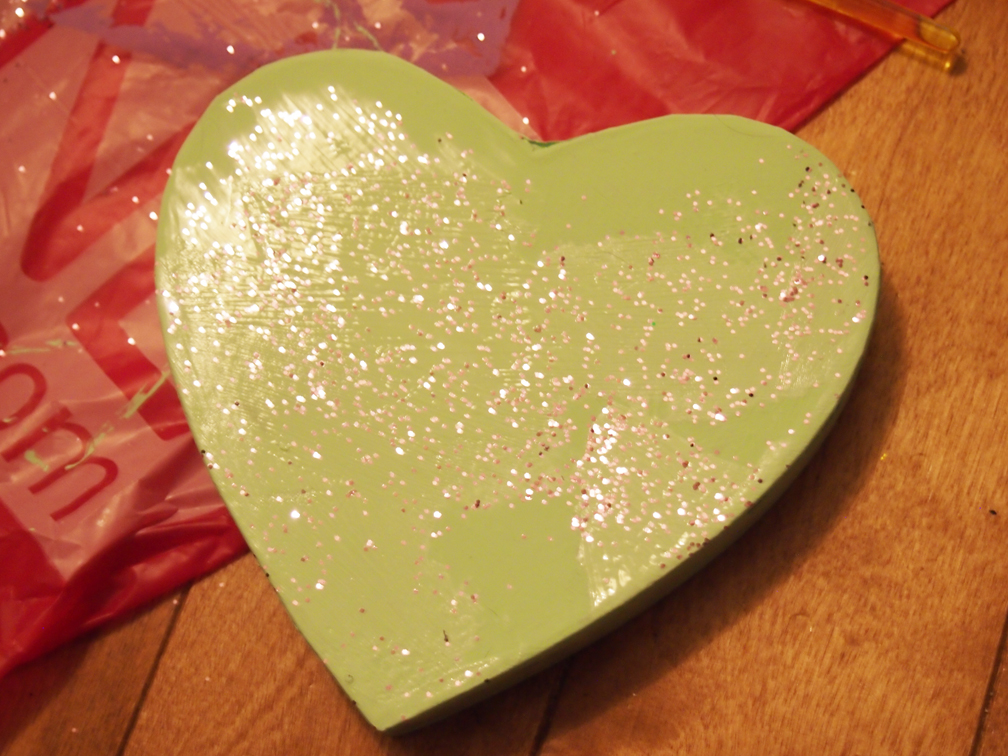
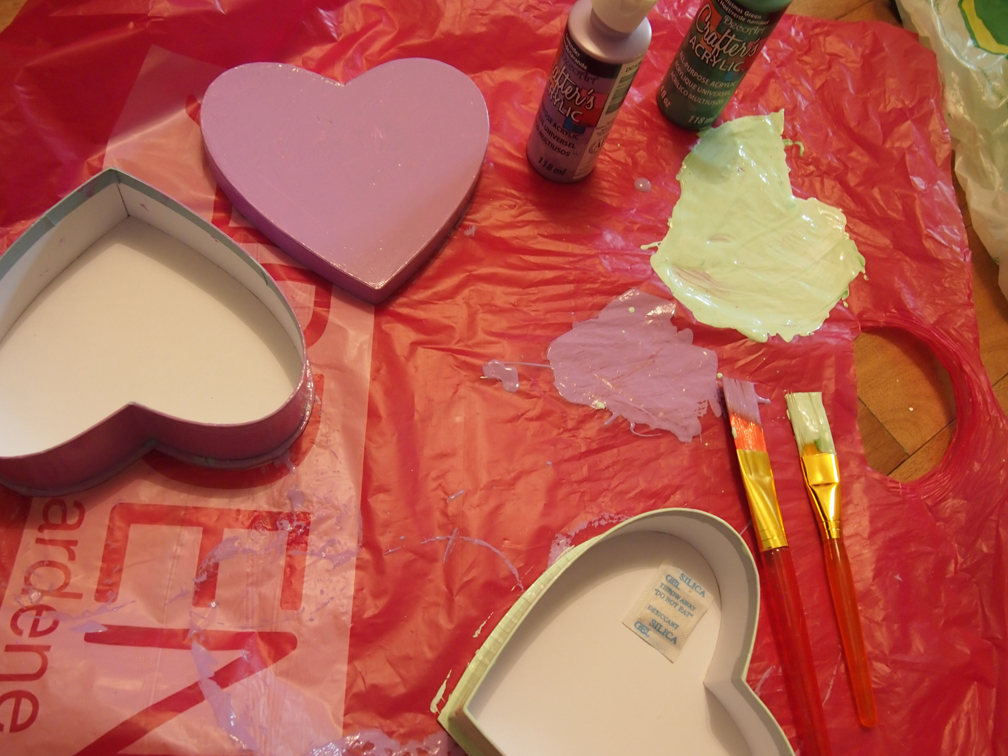
Step Two
Glitter! While the last layer of paint is still a little wet we sprinkled our glitter all over and put extra on the lids. This way as the paint dries it’ll hold the glitter in place. You could use a spray gloss over that once the paint is dry if you want to keep the glitter in place.
If glitter isn’t your jam you could paint stripes, polka dots, or whatever you like onto the boxes to make them your own! Little stickers would look cute or glue on jewels and gems.
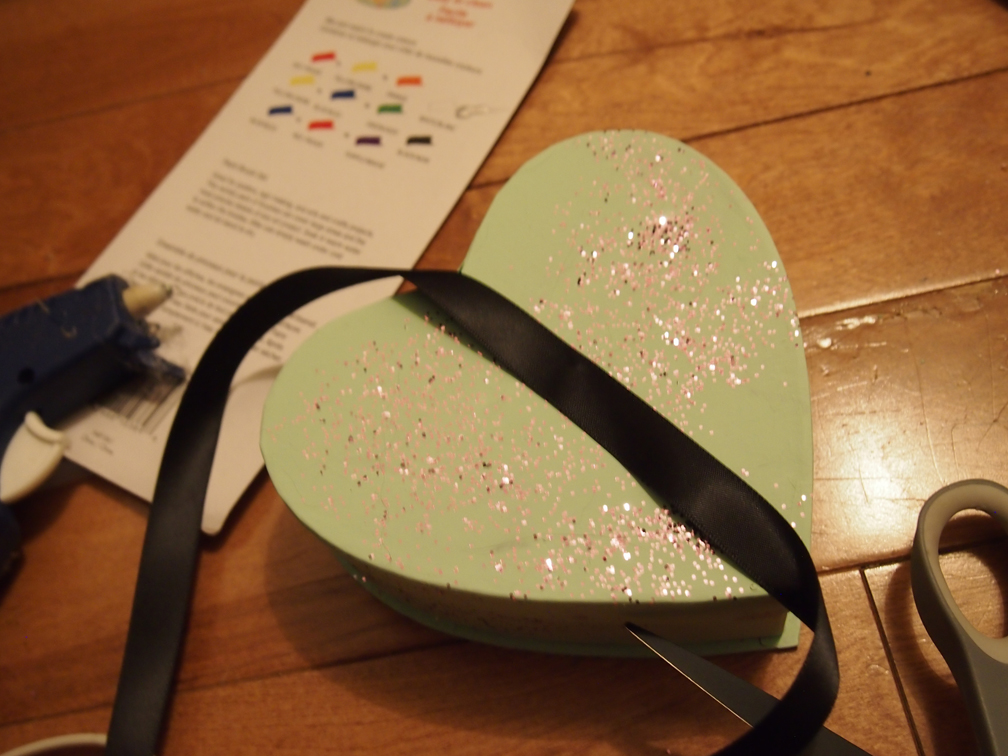
Step Three
Use your scissors to poke two small holes in the bottom of the box about 2″ apart (not so close that they can rip into one big hole) and feed a long length of ribbon through those. Or you can attach ribbon to the bottom of the heart box with hot glue. This is what will hold the headdress onto your head. You could also use a headband and tie the ribbon to that to hold it in place, we just liked how the ribbon looked tied under the model’s hair.
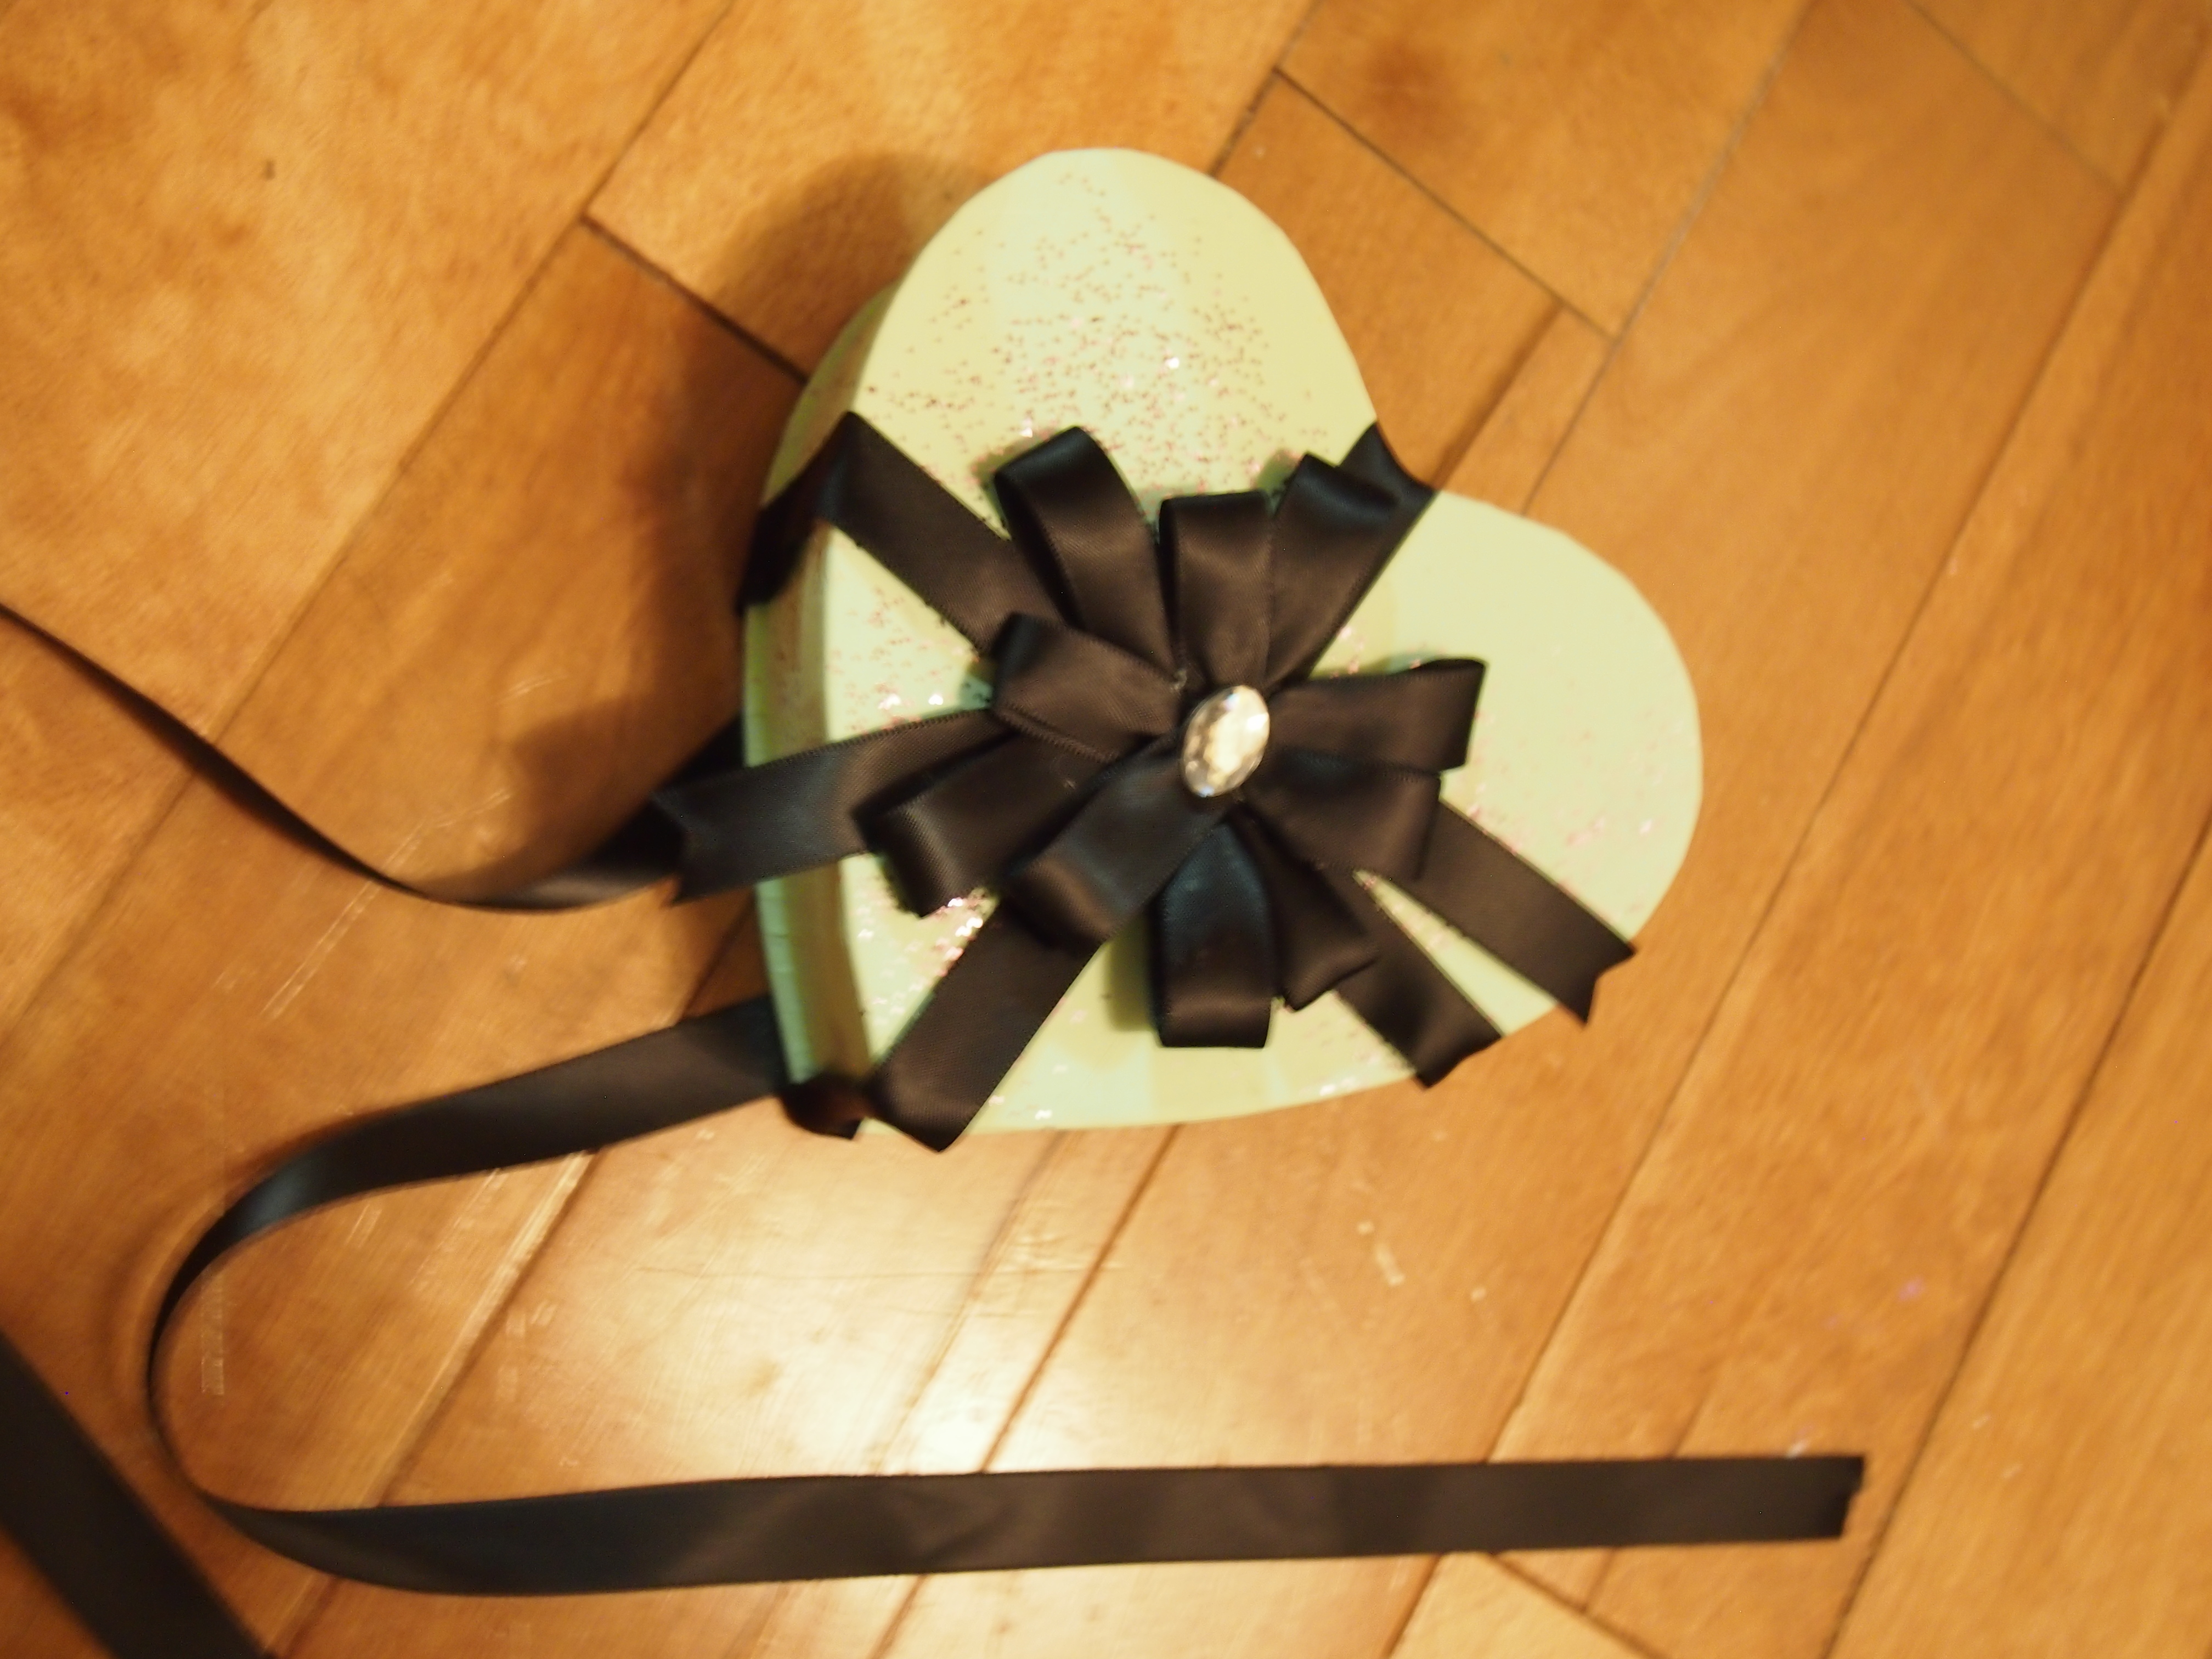
Step Four
Wrap the box with ribbon and glue in place. We affixed a fluffy bow to the top using short lengths of the black satin ribbon. This gives the box a gift-wrapped feel which looks super cute in outfits! We finished ours with a single sparkly gem.
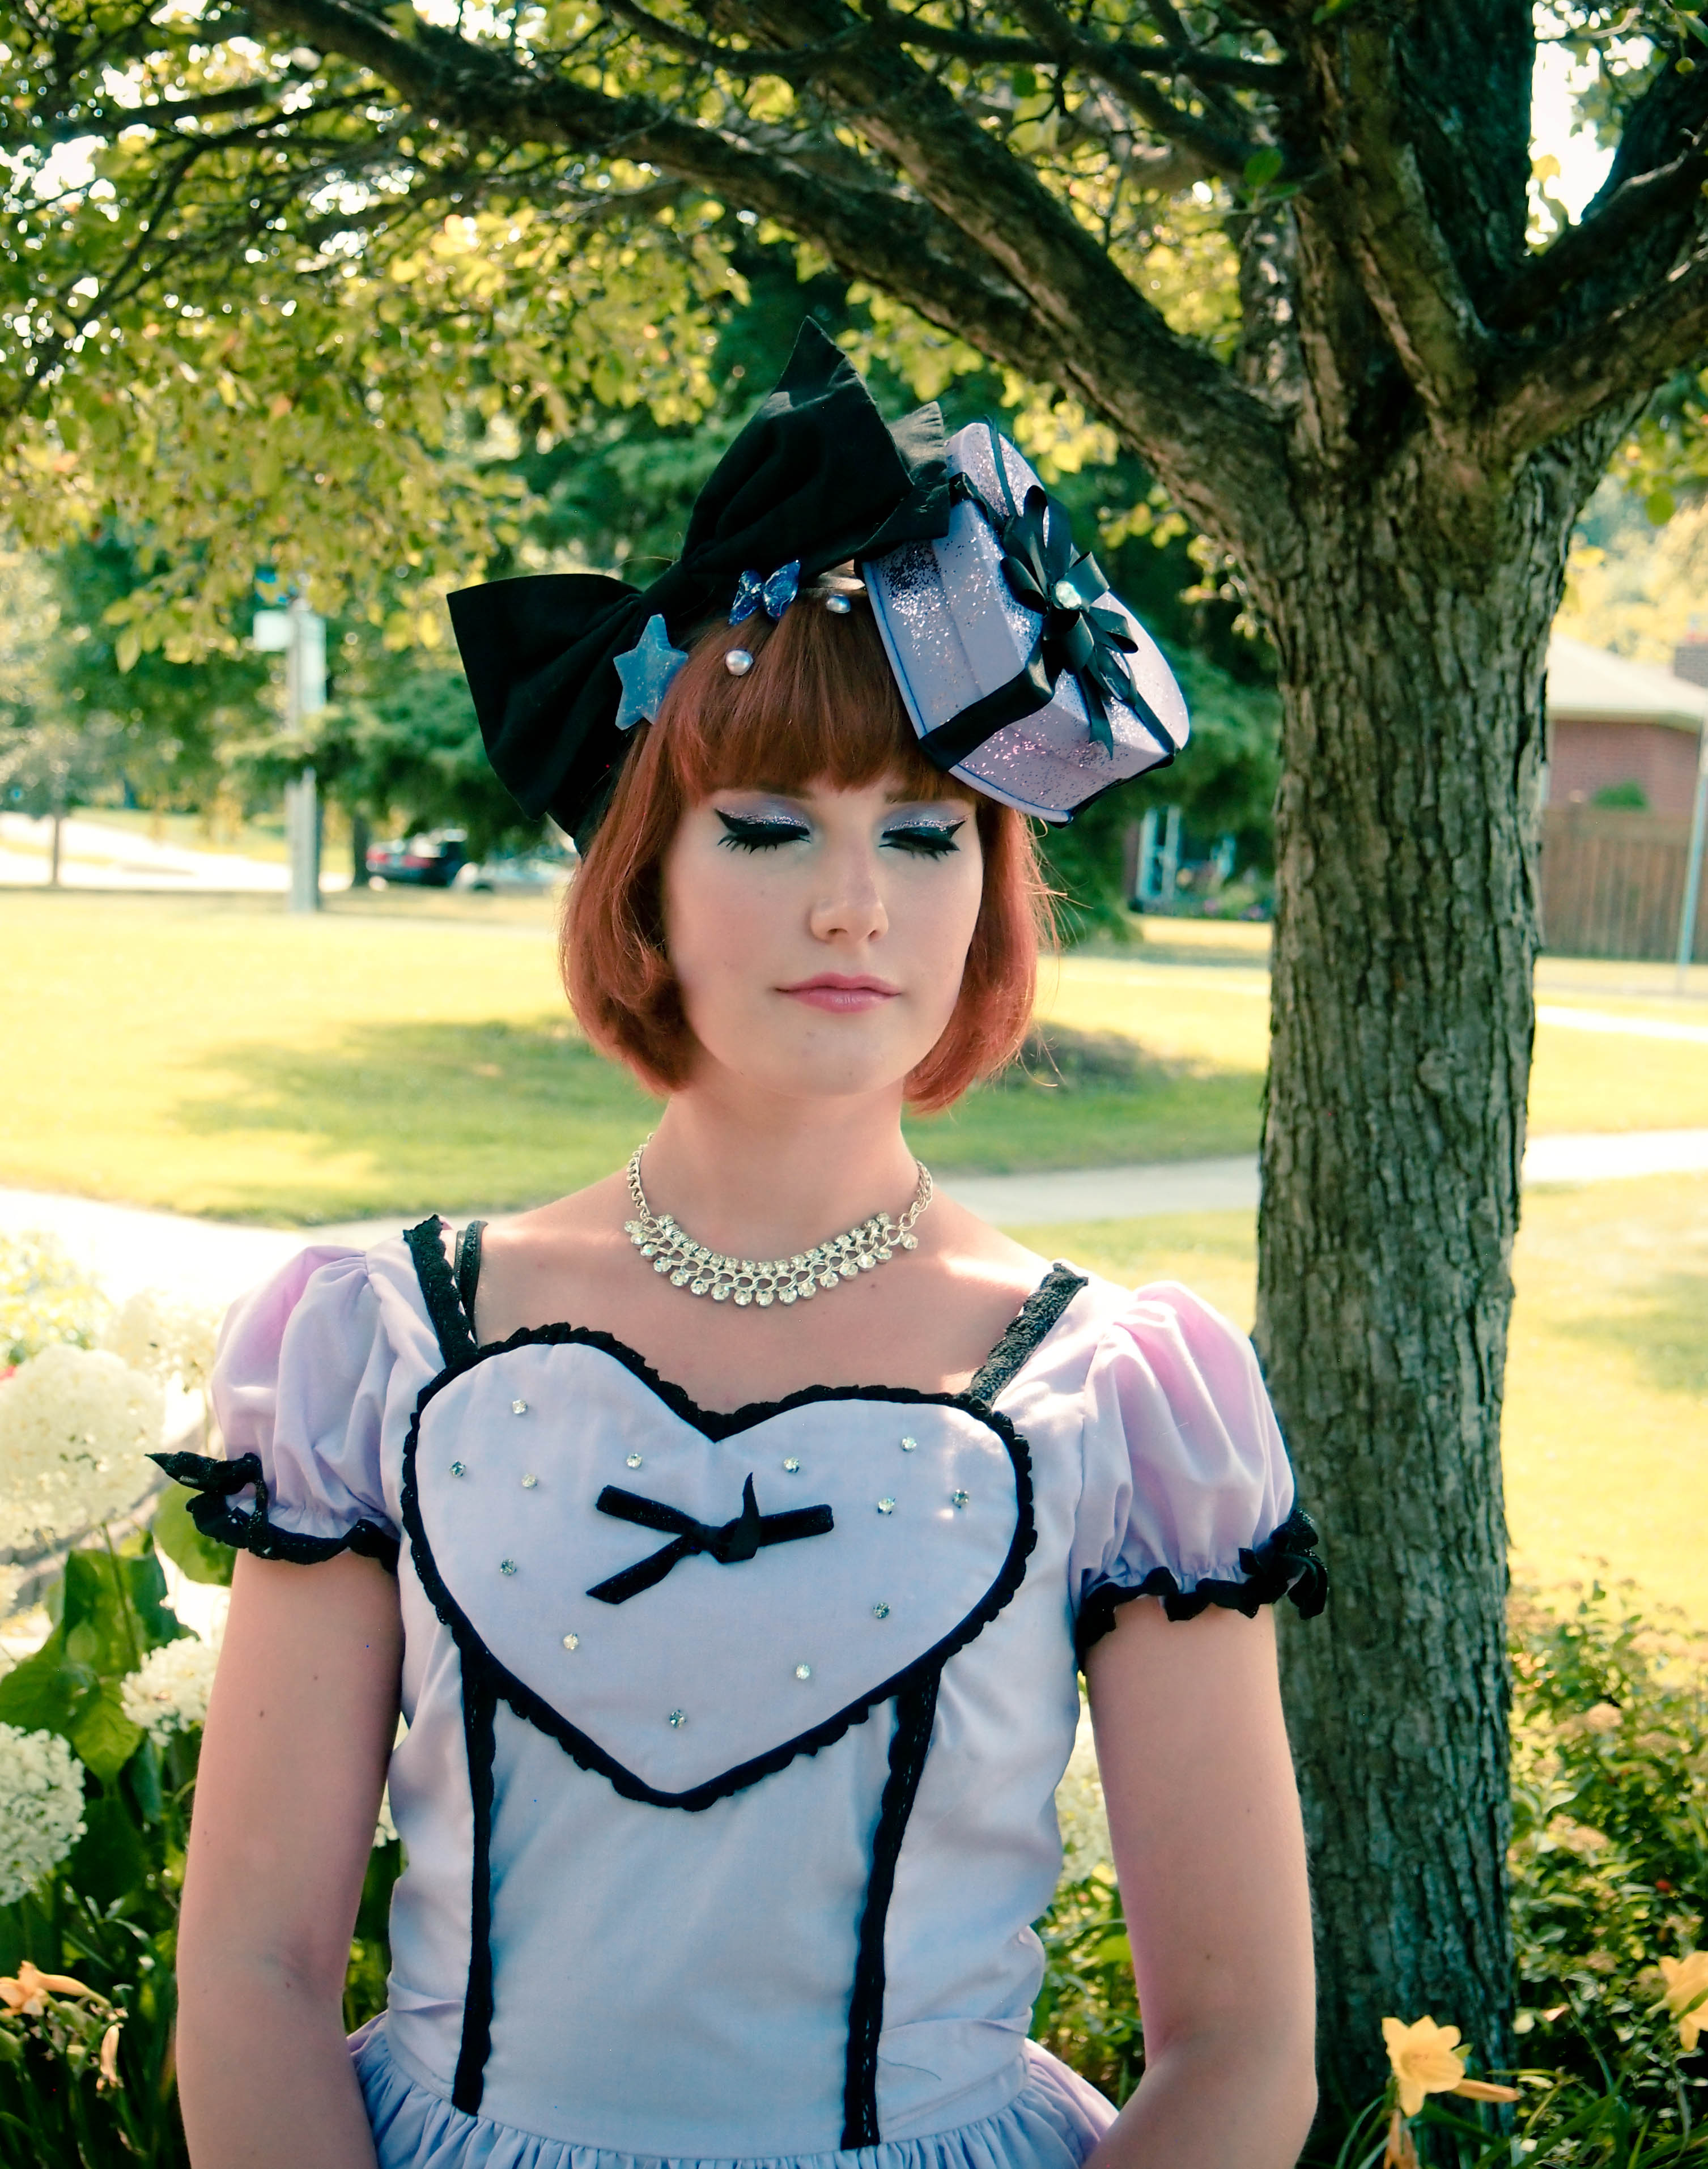
Voila! Super quick and adorable head-dresses! The options for customizing these are endless, you could even use little paper coffins to make gothier versions. 🙂
-Taeden

This is so cute! Love this idea. c:
Thank you! 😀