Ahoy! If you’d like a touch of the seaside in your style here’s a super easy tutorial for creating an adorable rope headband. These look great with sailor lolita outfits or any nautical themed look.
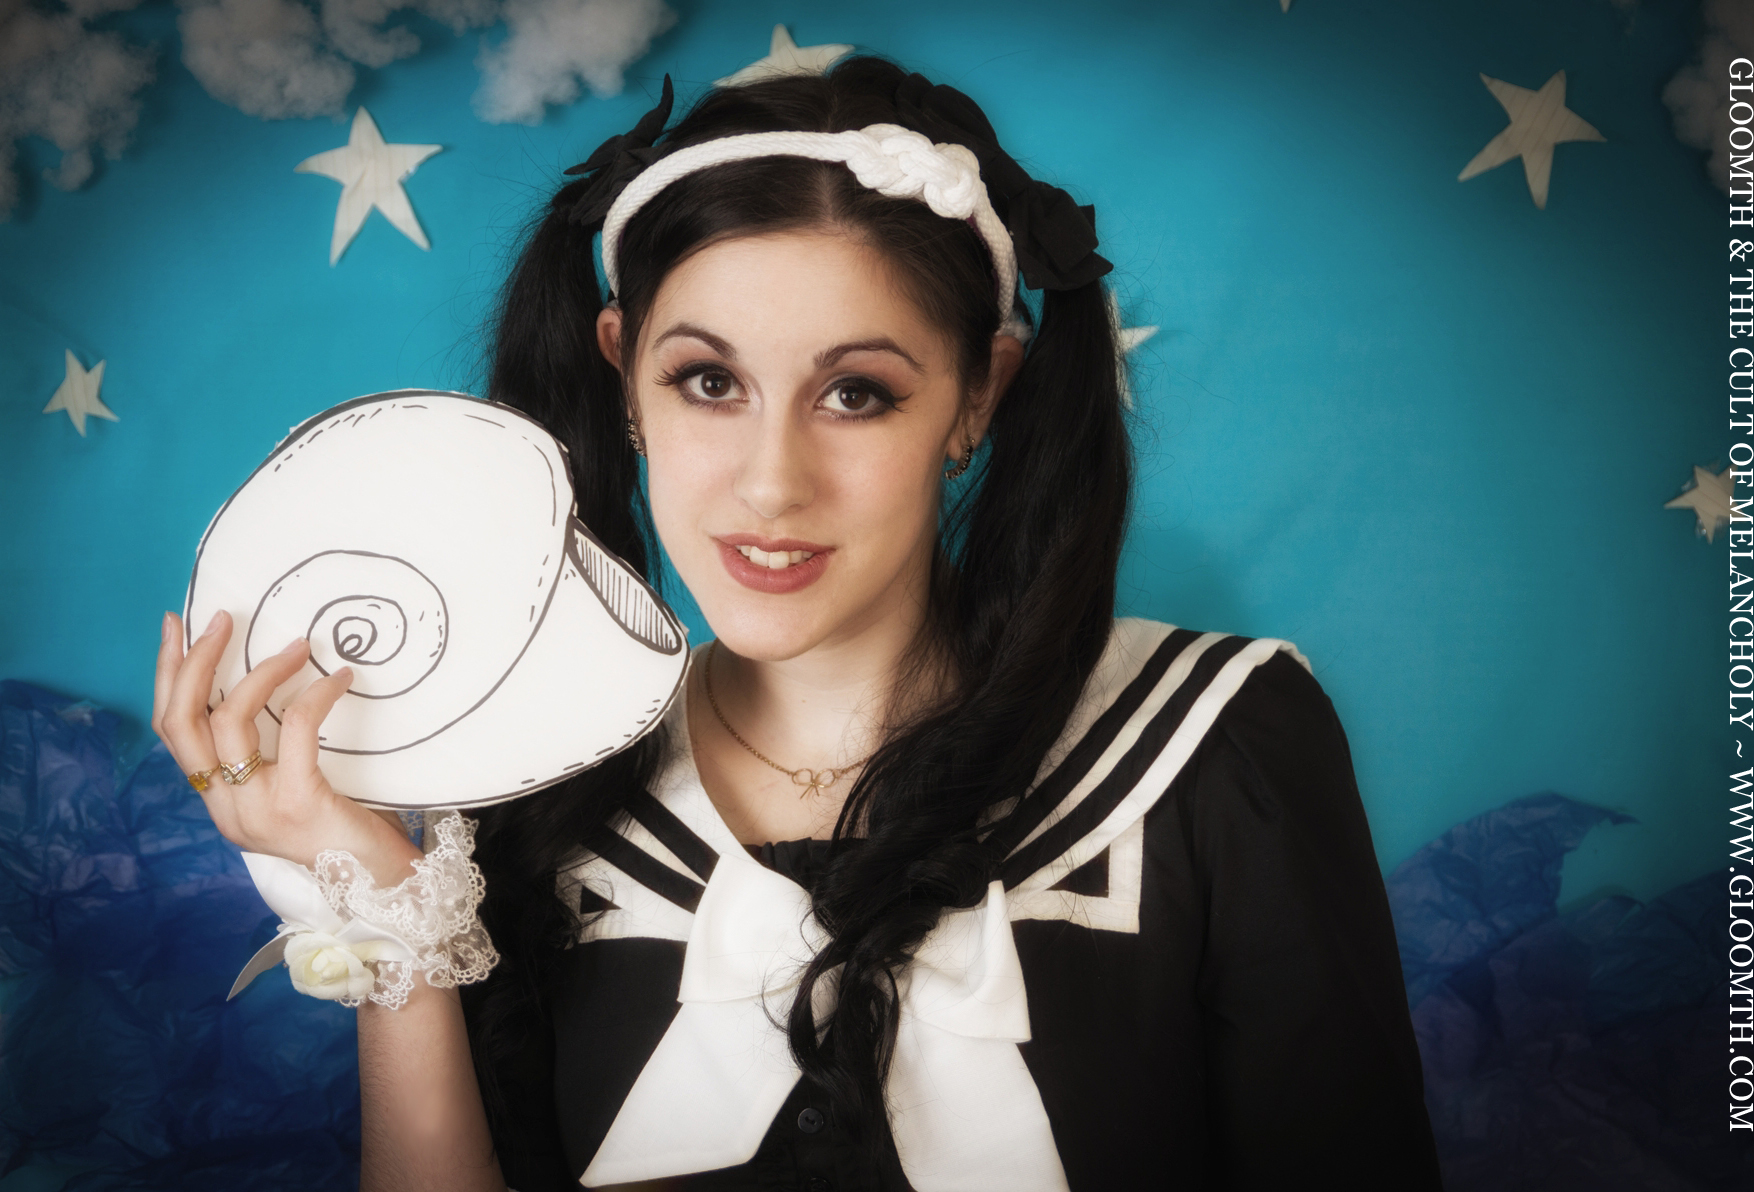
We used one in our recent “Lost At Sea” photoshoot with Kuroihitomi!
Materials:
Rope- We used a wide white rope intended for outdoor clothesline. You can find rope sold in packages or by the foot at hardware shops, and craft stores have lots of rope style cord in a variety of colors and sizes. You need about 1 yard (36 inches).
Hot Glue Gun and Glue- Even the cheapo dollar store glue guns will work for this craft.
Plastic Headband- They often come in packs of 3 or 6 at dollar stores, the thinner the better.
Scissors.

Step One: Fold your rope in half and tie it in the middle.
Step Two: Tie it again 1 or 2 times til you have a clump of knots that looks good. Alternately you can tie a fancy sailor knot in the middle, we are not sailors so we did the easy peasy tying style and it looks quite good.
Step Three: Position your knot so it has a flatter underside by wiggling and adjusting the tension. You want a flatter side so it will stick down to the headband easily.
Step Four: Figure out where you’d like the knot to sit on your headband and then glue it down.
Step Five: Snip off the excess rope at the ends and seal the ends with more glue, or leave them raw depending on your preference.
Voila! The fastest cute sailor inspired headband ever! 🙂
-Taeden
